In this maintenance log I’ll walk through how I created a small JavaScript utility to calculate how many potatoes it would take to power various devices aboard the station — including our critically important coffee maker and even historical satellites like Sputnik 1.
While the calculator is obviously comedic in nature, the project is actually a great excuse to learn several useful JavaScript concepts including objects, arrays, DOM manipulation, event listeners, and dynamic HTML rendering.
Also, if our primary backup batteries ever fail during a botanical experiment, I would like the record to show that I at least attempted to prepare an emergency potato-based contingency plan.
I wrote the program in JavaScript because it allows the calculator to run directly in a web browser across the station’s internal network without requiring additional software installs.
Also, every hydroponic station engineer enjoys a good cup of java almost as much as alien botanists enjoy french fries.
Creating the File
First, I created the file:
touch spudnik.js
After that I created the main function for the widget and passed in an element variable named el.
I always say you can’t have fun without a function.
export default function spudnik(el) {
Creating the Device Data
Next, I created an object named devices to store information about every device the calculator can analyze.
Each device contains:
- A display name
- A short description
- An array of electrical systems
- Voltage values for each subsystem
This makes the calculator easy to expand later. If we ever need to calculate potato reserves for hydroponic pumps, experimental plasma toasters, or Goldie K9000’s treat synthesizer, we can simply add another device object.
const devices = {
    coffeeMaker: {
        name: 'Coffee Maker',
        description: 'A dangerously breakfast-critical appliance.',
        systems: [
            {
                name: 'Heating Element',
                volts: 110,
                note: 'Brews morale into liquid form.',
            },
        ],
    },

    sputnik1: {
        name: 'Sputnik 1',
        description: 'Three isolated voltage systems kept the little beep alive.',
        systems: [
            {
                name: 'Vacuum Tube Filaments',
                volts: 7.5,
                note: 'Powered the tube filaments.',
            },
            {
                name: 'Control & Sensor Circuits',
                volts: 21,
                note: 'Powered control, thermal, and sensor circuits.',
            },
            {
                name: 'Radio Transmitter Tubes',
                volts: 130,
                note: 'Powered plates, screens, and grids.',
            },
        ],
    },

    sputnik2: {
        name: 'Sputnik 2',
        description: 'Multiple DC battery packs powered separate onboard systems.',
        systems: [
            {
                name: 'Tube Filaments',
                volts: 7.5,
                note: 'Powered radio vacuum tube filaments.',
            },
            {
                name: 'Switching Circuits',
                volts: 21,
                note: 'Powered onboard switching circuits.',
            },
            {
                name: 'Radio Transmitters',
                volts: 130,
                note: 'Drove the radio transmitter supply.',
            },
        ],
    },
};
Adding a CSS Class
Next, I assigned a class to the main element so we could target the widget with CSS styling.
Who says hydroponic space station engineers have no class? Sure, I may occasionally have vegetable oil or coffee stains on my jumpsuit, but that is beside the point.
el.classList.add('spudnik-widget');
Building the Interface with innerHTML
Next, I used innerHTML to dynamically insert the application layout into the page.
Because the HTML is wrapped inside backticks ( ` ), JavaScript treats it as a template literal, which allows multi-line HTML to be written more cleanly inside the script itself.
This approach keeps the widget self-contained. Instead of managing separate HTML files for every small interface component, the structure, behavior, and styling hooks all stay together in one place.
el.innerHTML = `
    <aside class="spudnik-sidebar">
        <div class="spudnik-icon">
            <div class="spudnik-potato">🥔</div>
        </div>

        <h2>SPUDNIK POWER CALCULATOR</h2>
        <p>Estimate potato power requirements for devices and spacecraft.</p>

        <label for="spudnik-devices">DEVICE</label>

        <select id="spudnik-devices">
            <option value="coffeeMaker">Coffee Maker</option>
            <option value="sputnik1">Sputnik 1</option>
            <option value="sputnik2">Sputnik 2</option>
        </select>

        <button type="button">🥔 SPUDIFY</button>

        <footer>
            <span>v0.1</span>
            <span>STELLAR.GARDEN</span>
        </footer>
    </aside>

    <section class="spudnik-main">
        <header>
            <span class="spudnik-badge">📡</span>

            <div>
                <h3 class="spudnik-title"></h3>
                <p class="spudnik-description"></p>
            </div>
        </header>

        <div class="spudnik-table"></div>

        <div class="spudnik-total">
            <span>Total Recommended<br>Potato Reserve</span>
            <strong></strong>
            <span>potatoes</span>
        </div>

        <p class="spudnik-footnote">
            Potato voltage rating: 0.5 V per potato.
            For comedic and educational purposes only.
        </p>
    </section>
`;
Selecting Elements with querySelector()
Once the HTML exists on the page, we can begin selecting elements we want JavaScript to interact with.
The querySelector() method allows us to locate specific elements using CSS-style selectors. We then store those elements inside variables so we can update them later.
const select = el.querySelector('#spudnik-devices');
const button = el.querySelector('button');

const title = el.querySelector('.spudnik-title');
const description = el.querySelector('.spudnik-description');

const table = el.querySelector('.spudnik-table');
const total = el.querySelector('.spudnik-total strong');

const potatoVolts = 0.5;
Calculating the Potato Power
Now comes the core logic of the application: the calculateSpuds() function.
This function is responsible for:
- Reading the currently selected device
- Calculating how many potatoes each subsystem requires
- Building the output table
- Updating the total potato reserve count
And last spud not least (sorry, I couldn’t resist — much like Goldie K9000 can’t resist pancakes or forks), this is where the real potato-powered engineering begins.
function calculateSpuds() {

    // Retrieve the selected device object
    const device = devices[select.value];

    let totalPotatoes = 0;

    // Update title and description
    title.textContent = device.name;
    description.textContent = device.description;

    // Create the table header
    table.innerHTML = `
        <div class="spudnik-row spudnik-head">
            <span>System</span>
            <span>Voltage</span>
            <span>Potatoes</span>
        </div>
    `;

    // Loop through each subsystem
    device.systems.forEach((system) => {

        // Calculate required potatoes
        const potatoes =
            Math.ceil(Math.abs(system.volts) / potatoVolts);

        totalPotatoes += potatoes;

        // Add row to the table
        table.innerHTML += `
            <div class="spudnik-row">
                <span>
                    <strong>${system.name}</strong>
                    <small>${system.note}</small>
                </span>

                <span>
                    ${system.volts > 0 ? '+' : ''}${system.volts} V
                </span>

                <span>🥔 ${potatoes}</span>
            </div>
        `;
    });

    // Update total potato reserve display
    total.textContent = totalPotatoes;
}
Adding Event Listeners
Finally, event listeners allow the calculator to react whenever the user changes the selected device or presses the button.
select.addEventListener('change', calculateSpuds);

button.addEventListener('click', calculateSpuds);

// Run once immediately on startup
calculateSpuds();
}
Final Thoughts
With just a small amount of JavaScript, we were able to build a fully interactive calculator capable of dynamically rendering device data, performing voltage calculations, and updating the interface in real time.
Along the way we used:
- Objects and arrays
- Functions
- Template literals
- DOM selection
- Event listeners
- Dynamic HTML rendering
Most importantly, we proved that potatoes remain one of the most scientifically questionable yet emotionally dependable backup power systems aboard the station.
In future maintenance logs we may expand Spudnik further by:
- Adding amperage and wattage calculations
- Supporting custom device input
- Tracking potato battery efficiency
- Simulating long-term orbital potato degradation
- Convincing AIME this absolutely qualifies as legitimate engineering
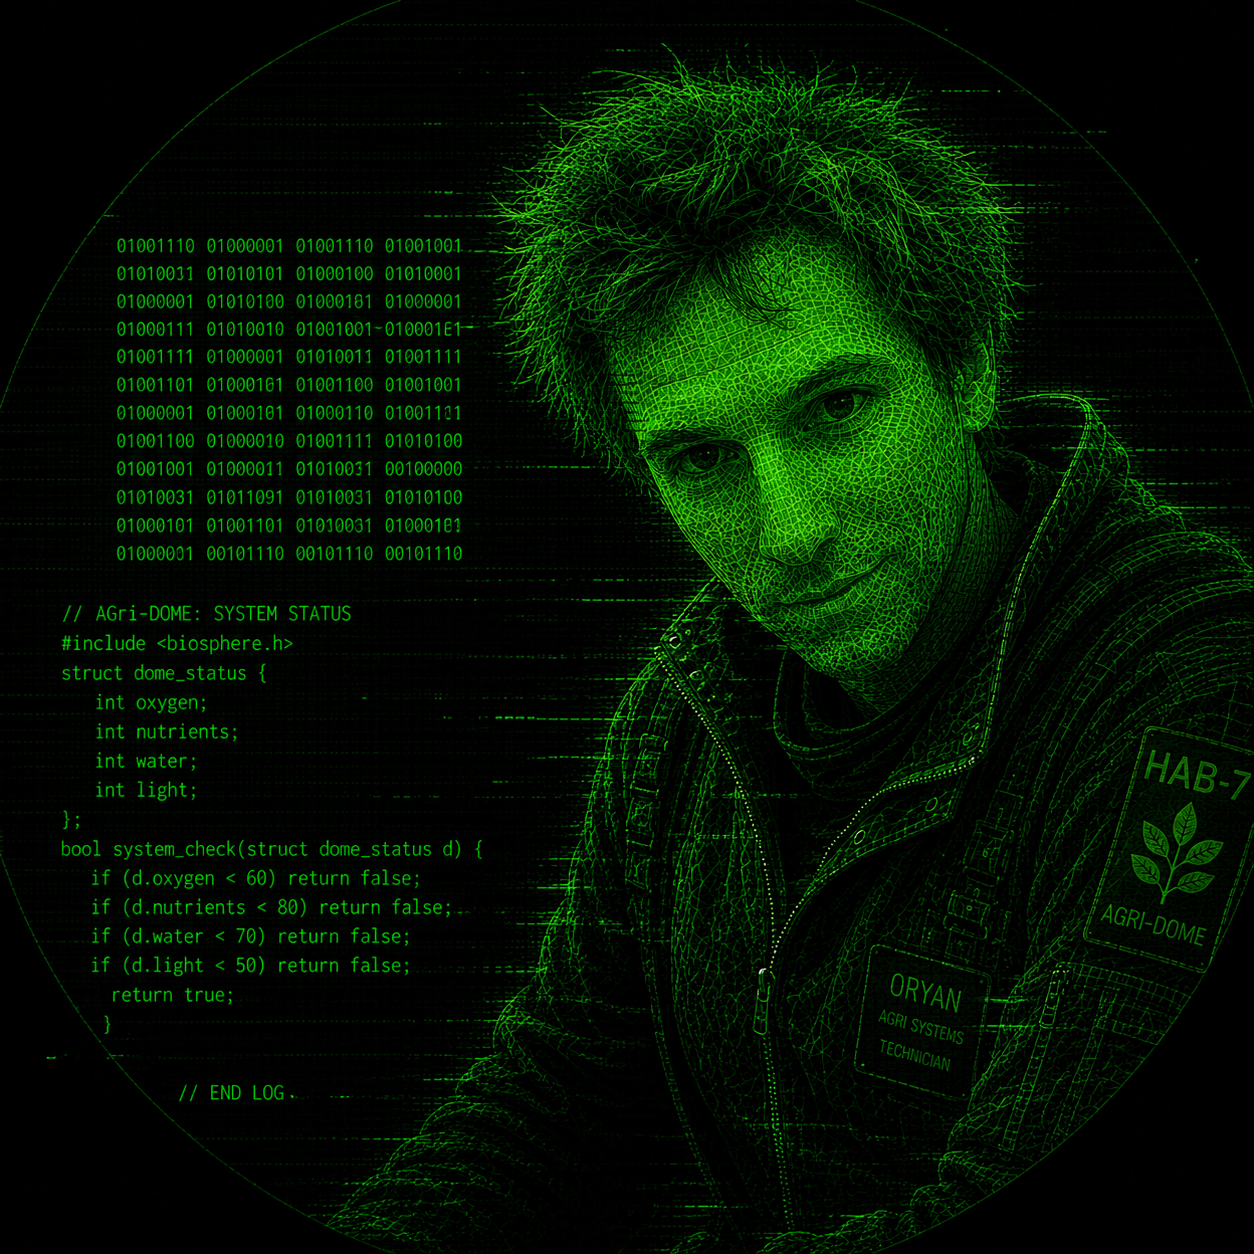
Until then, this is Oryan Rivers signing off from the maintenance bay.
And if the coffee maker suddenly loses power again… check the potato reserves first.